The graphic design process explained: a step-by-step guide
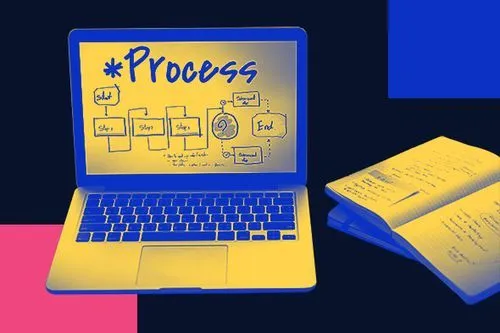
TABLE OF CONTENTS

Where does design come from? What is the logo design process? How is it possible that after days, if not weeks, of work, all that a graphic designer has to present is one simple visual? Let’s explain the design process step-by-step.
Nobody questions the manufacturers of physical products about their process. And yet, the graphic design process is always a matter of discussion. For example, why something that looks like a matter of a few clicks or a bit of typing can take much longer to finalize.
What is the design process? Why does it take as long as it does? And what is the thinking behind it?
Strap on as we dive deep into these questions!
{{GRAPHIC_BANNER="/dev/components"}}
What is the design thinking process?
You may have heard the term floating around, but what exactly is design thinking?
In a nutshell, it’s creative problem-solving. It emphasizes viewing a specific problem in a broader context and providing custom-made products or services for real users.
In graphic design, design thinking makes sure each design solves a problem or has a clear purpose. How about an example?
Everyone knows that you must be present on at least one social media channel to run a business online. But is it enough to just post anything simply to maintain your presence?
Without a strategy in place, you’ll quickly find yourself wasting time and resources. Implementing the design thinking process means that every social media graphic is created to push your agenda further.
And what’s the agenda again? As Simon Sinek famously explained, it’s the “why” of your business. In other words, it’s why you do what you do, or the way you address a specific problem.
The design thinking process consists of these 5 steps:

- Empathize: Understand that certain people experience specific problems. Become invested in helping them.
- Define: FCreate a problem statement with details, such as scope, duration, and critical points.
- Ideate: Generate ideas to solve the problem. In graphic design, this is the creation of concepts.
- Prototype: Create prototypes or drafts.
- Test: In the context of graphic design, testing often means giving the drafts back to the clients and adding revisions. In some cases (e.g., landing pages or user experience design), designs will be tested or presented to a peer group for review before revisions are requested.
As you can see, design thinking means you continuously repeat the process with new problems that you solve for clients. So, before we get into the specifics of the process of design, it’s essential to understand why we’re here in the first place.
The answer is design thinking, and every design process should start with this problem-solving methodology in mind. Recent research has confirmed that companies with a strong focus on design thinking outperform the industry benchmark by two to one.
So, if you wish your design processes to be successful, get your design thinking mindset on. And if you want to have a smooth and effective design process, these are the steps to follow.
A 12-step guide to the design process
Now that you have the big picture, it’s time to get down to the details of the graphic design process steps.

Step 1: Market research
If you’re a client wondering, “what is the design process, and why does it take so long” this is one obvious answer we can give you.
Despite what you may think, designers never start working on a project off a “creative hunch” or sudden epiphany. Before they even come close to opening a design program, they have to understand who they are designing for.
And no, it’s not you, their client. Graphic design is made for a specific target audience. So, designers must know about your buyer personas to deliver quality results. Of course, you can significantly speed up this part of the design process by providing them with your own market research findings.
However, they will still need to dig a little deeper into the graphic design side. They will look at what your competitors are doing and what you’ve done in the past. Designers will then identify potential areas of improvement or significant trends in the industry.
Step 2: Get to know the client
Every business is unique, so it’s one of the most vital design process steps to understand what makes your design client different from their competition.
Usually, it’s a good idea to organize an interview. This is an opportunity for the designer to ask questions about your mission, vision, and values. Although it may seem like chitchat to you, it’s an incredible source of information for the designer.
Step 3: Define the problem
After they’ve grasped the big picture, it’s time to understand what you want them to do and why you need this design.
Let’s say you’ve requested some versatile illustrations that you can use across the board. Pretty simple, right? However, here are some questions that your designer might ask you:
- Where will the illustrations be used?
- Have you used any illustrations before, and if yes, what were they?
- Why haven’t you used illustrations before?
- How can illustrations help your audience?
- What problem(s) are you trying to solve by incorporating illustrations into your designs?
Perhaps you haven’t even thought this through yourself. However, brainstorming on these questions together is one of the most crucial design process steps, as it can also help you create a quality design brief.
Step 4: Analyze the creative brief
You’ve done your part and provided the designer with all the information they need to start designing. So now they jump right into the work, correct?
However, a designer needs to study the brief carefully first. This helps them spot potential inconsistencies with the previously defined problem, or the general design strategy.
Truthfully, it’s not the longest of the graphic design process steps. Still, it is valuable for helping you to establish the optimal workflow
Step 5: Set up a timeline & agree on deliverables
We’re almost ready for the creative part, I promise. But if celebrity marriages have taught us anything, it’s that setting up expectations is beneficial for everyone involved.
If you’re creating a contract with the designer, this is the time to do it. The contract should include any hard or soft deadlines and the key deliverables in the design process. You might also want to specify how and how often your designer should report on the ETA (estimated delivery time).
Step 6: Create a mood board
Finally, we come to the step where the design team is “off to work.” Creating a moodboard helps a designer visually take in everything they’d previously researched and learned. They compile examples of design from your competition and graphics that match the design style or needs.
Of course, mood boards are never a compilation of just one medium. Many designers also create physical moodboards where they can include textured materials, while others prefer to keep things digital and include materials such as videos or GIFs.


In any case, it’s that final brainstorming step before a designer can grab their sketchbook or open a design software and start developing the concept and first draft.
Step 7: Develop a concept
Ok, this is it. The designer will finally create a piece of design. Bear in mind that this will only be a rough draft in most cases.
If you find yourself googling “what is the logo design process,” then this is the step to note. A quality designer will be able to tick all the boxes with different visual solutions. So, it’s your task to choose whichever you think is best or simply the one you like better.
Although there’s much more to it than that, design is subjective, so you shouldn’t ignore your gut instinct.
Step 8: Get feedback
If you feel a designer is incessantly bugging you with questions - there’s a good chance you’ve come across a terrific one.

This suggests that they are eager to move in the right direction and avoid delays and multiple revisions later. As a result, the designer will likely be able to stick to the agreed workflow and deliver results promptly.
Of course, it’s not unheard of that a graphic design project is still overhauled entirely mid-way. But the chances of that happening are minor if you study the concept correctly and provide actionable feedback.
Step 9: Start designing
Hooray! The designer finally gets to work! So now you must be wondering: what is the design process like in a single working day?
Naturally, there’s no straightforward answer here, as it greatly depends on the person and project at hand.
With over 125k projects under our wings, here’s what we estimate our designers at our unlimited design company will deliver within 1 day:
- 2-3 social media graphics
- or 1-2 custom illustrations (more if they are not too complex)
- or 2-3 display ads
- or 4-5 pages of a brochure, e-book, report, or slide deck
- or 1 GIF draft (2-3 sec)
- or 1-2 flyers
- or 1 logo draft
- or the first draft of a landing page
Of course, bear in mind that our designers usually work with 2-3 clients at a time. So if a designer is working exclusively for you, this output should be doubled.
On the other hand, freelancers probably deliver results at a similar pace since they usually manage a few clients simultaneously.
Step 10: Review
Before submitting work for the client to review, professional designers will establish a process of internal quality control and assurance.

In simple terms, quality assurance is determining whether a design meets the specified requirements. This is usually done by a design project manager. Here are some criteria that they might take into consideration:
- adherence to the creative brief;
- observance of brand guidelines & fundamental design principles;
- submission of all required file formats;
- copywriting & spellcheck.
The latter isn’t necessarily within the scope of service of a designer, but it does show a level of professionalism that is usually expected.
Step 11: Make revisions
The designer has now submitted the first draft for review. The next step in the design process is for clients to provide their two cents and request revisions.
No matter how well you try to define design process steps, there will almost always be room for some tweaks. Luckily, if you have followed the proper course of the design process so far, the alternations should be minor.
In this case, the trickiest part of this process step is finding a way to communicate your views. If you’re not physically in the same room as a designer, moving something “a little to the left” might take several tries.
You can always record a video on a platform like Loom. Or, you might ask the designer to provide you with a format you can work with. For example, you might be able to leave comments on a PDF more easily, or even a source file of some sort if you have the necessary design program.
Ideally, you can find a way to leave comments directly on the design. Some platforms for collaborative design might allow you to do this.
Step 12: Deliver the final design
Twelve steps later and you’ve got the finished product. The client has given their final approval, so all left for the designer is to pour themselves that well-deserved glass of wine. Not quite.
Wrapping up everything neatly is the last of the design steps, but one no professional designer will ignore. Usually, they should submit all source files and the ready-to-use file formats such as JPG, PNG, or PDF. All the files should be named appropriately, especially if designers submit older or alternative project versions.
An extra optional step is for the designer and client to discuss the project and potential challenges they've overcome. This step is usually a necessary part of the design thinking process, as it paves the way for future collaboration and moving on to the next problem that needs tackling.
Final word
We hope this gives you a better idea of what a layered process graphic design is. If you’re a design client, remember a lot is going on behind the scenes for a single visual to be produced.
If you feel that the design is taking too long, go back to these steps and figure out what could have realistically been completed. Alternatively, approach your designer directly and inquire about the stage of the graphic design process that they’re at.
If you’d like to learn more about how our design company handles this process, check out this article. In it, we explain how we’ve automated design briefs and made the design process easier for our clients.
You can also discover more about our quality assurance processes that help us make sure each piece of design, whether the first draft or the final product, meets expectations and high professional standards.

Having lived and studied in London and Berlin, I'm back in native Serbia, working remotely and writing short stories and plays in my free time. With previous experience in the nonprofit sector, I'm currently writing about the universal language of good graphic design. I make mix CDs and my playlists are almost exclusively 1960s.

Top-quality designers
A complete creative team at your fingertips: graphic and web designers, illustrators, and more.

Lightning-fast turnaround
Get start today and receive your first update on the next business day.

All-inclusive pricing
Unlimited requests and revisions. One flat monthly fee. No surprises.

Flexible & scalable model
No contract. Scale up and down as needed. Pause or cancel at anytime.
Continue reading

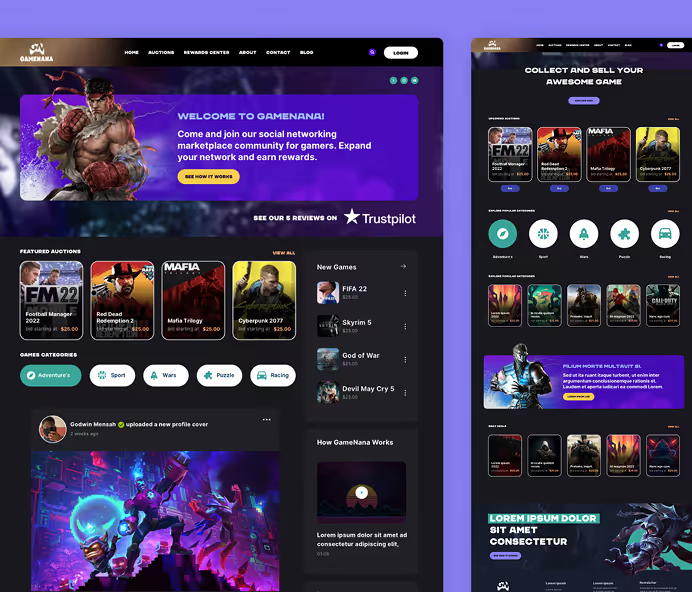
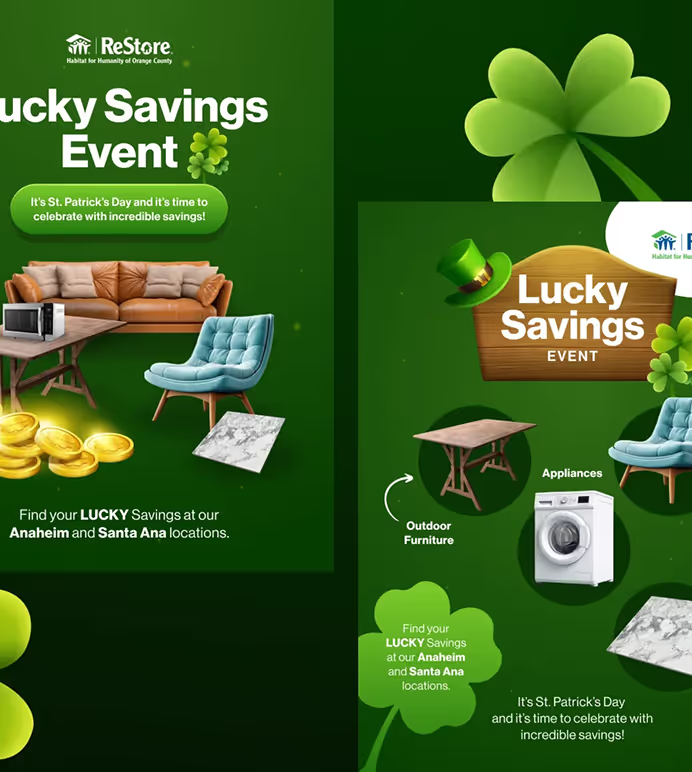
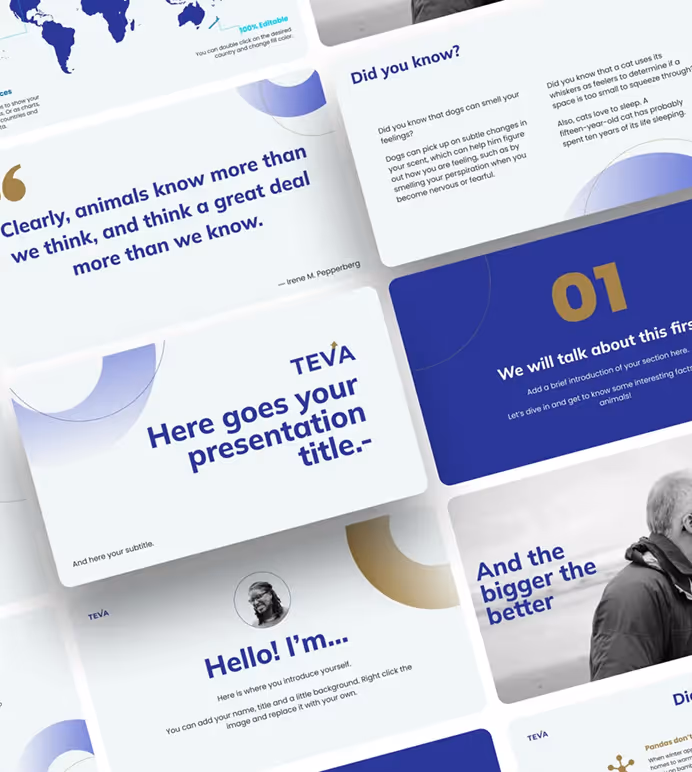
Explore some of our best designs
Get inspired by a curated selection of ManyPixels work. Download the portfolio to see what our team can create.