
.avif)
How to Design a Canva Website for Free
Creating a website is easier than ever with Canva! Whether for a business, portfolio, or personal use, Canva’s free, user-friendly platform lets you design a professional website with no coding needed. In this guide, we'll show you how to build a stunning site step by step.

.svg)
Canva is great for many design-related things, but did you know you can create your own free website with it?
Yep, directly in the app, creating a website that can be shared with anyone is pretty easy. They can click and interact just like any normal site, and it can all be done for free.
So how is it done? That’s exactly what we’re here to discuss today. Below, we’ll cover the process step-by-step, from first click to website creation, and even throw in some tips and tricks to make the process a bit easier. Let’s get started.
{{WEB_BANNER="/dev/components"}}
How to make a website on Canva
First and foremost, you only need a free account. While the premium accounts offer more options for design, it’s not needed to use the Canva website builder.
Next, you can select from the Canva templates, or start from scratch. We won’t spend too much time on the Canva website template selection, as you probably already have an idea of what you like.

For the sake of this walkthrough, we’ll pick a simple, educational Canva website template like the one below:
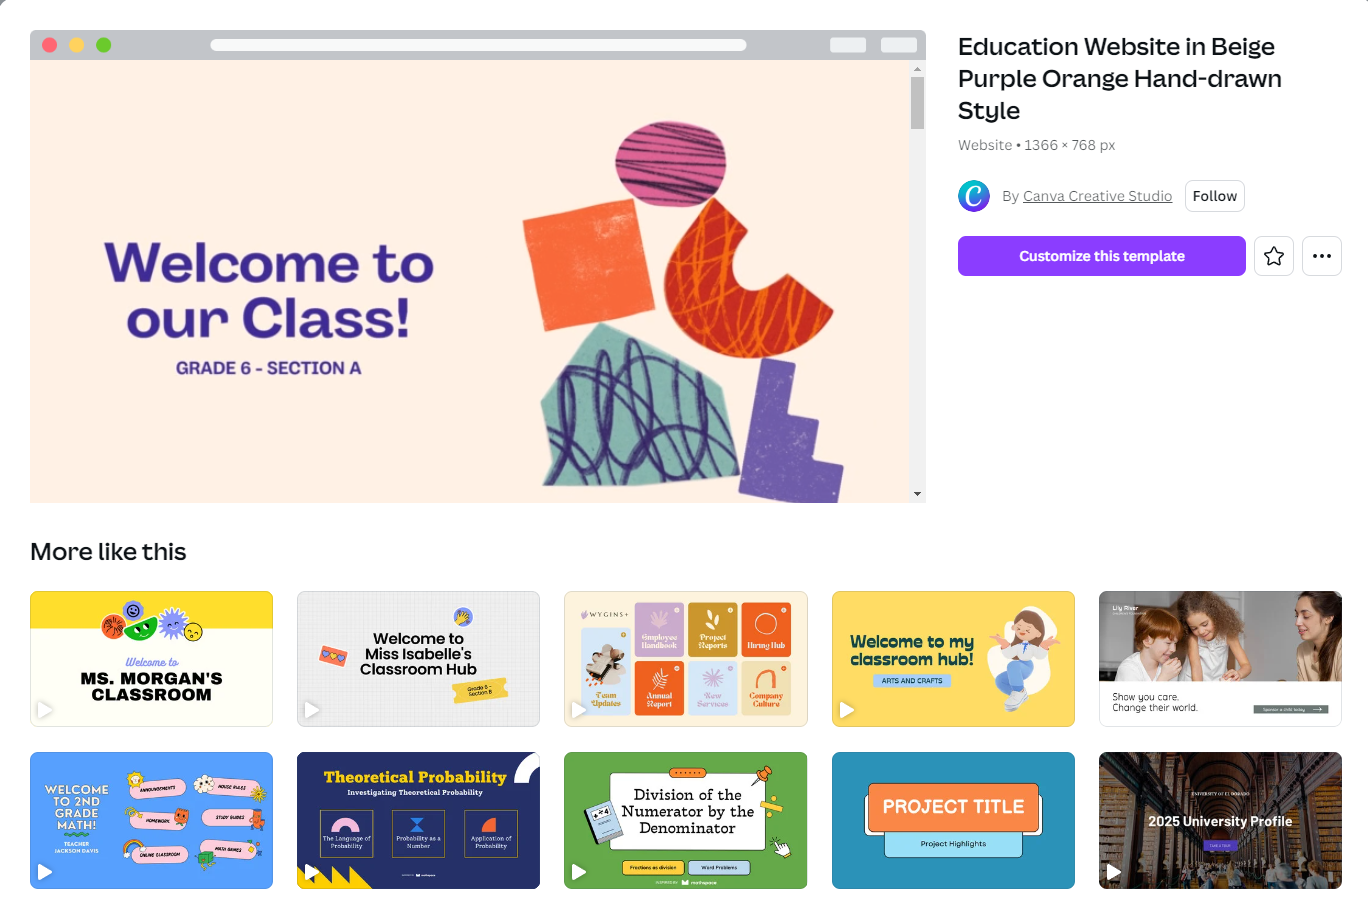
We’re not going to take too much time to select a template, but rather choose a sample so we can walk through how to make a website on Canva—embedding, creating buttons, adding forms, and things of that nature.
Any Canva website template you pick is going to function like most other projects. You can add or delete elements, create text, and customize however you’d like using the Canva website builder.
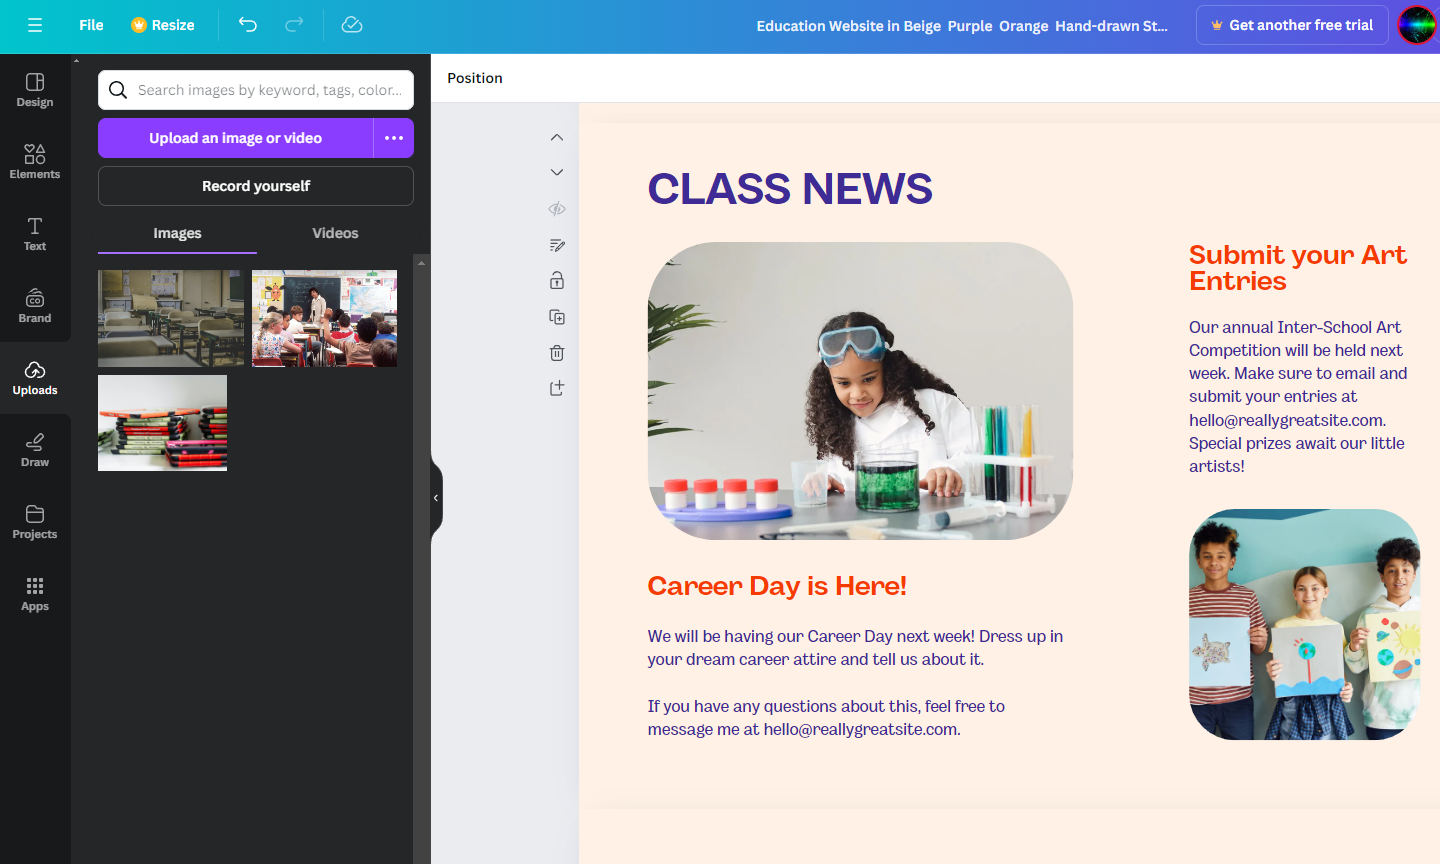
It’s also worth noting that you’ll probably want to populate the template with your own images. You can upload stock photos, product images, and anything else to the editor, and then drag and drop them how you see fit.
Embedding a video
Videos are one of the most powerful visuals for any website. They can help tell a story, show off a product, and often give more insight than words or images can alone.
Luckily, Canva makes it super easy to embed videos, especially if they’re already on YouTube. To embed a YouTube video, simply go to the apps menu on the left side, search ‘YouTube’, and download the designated app.
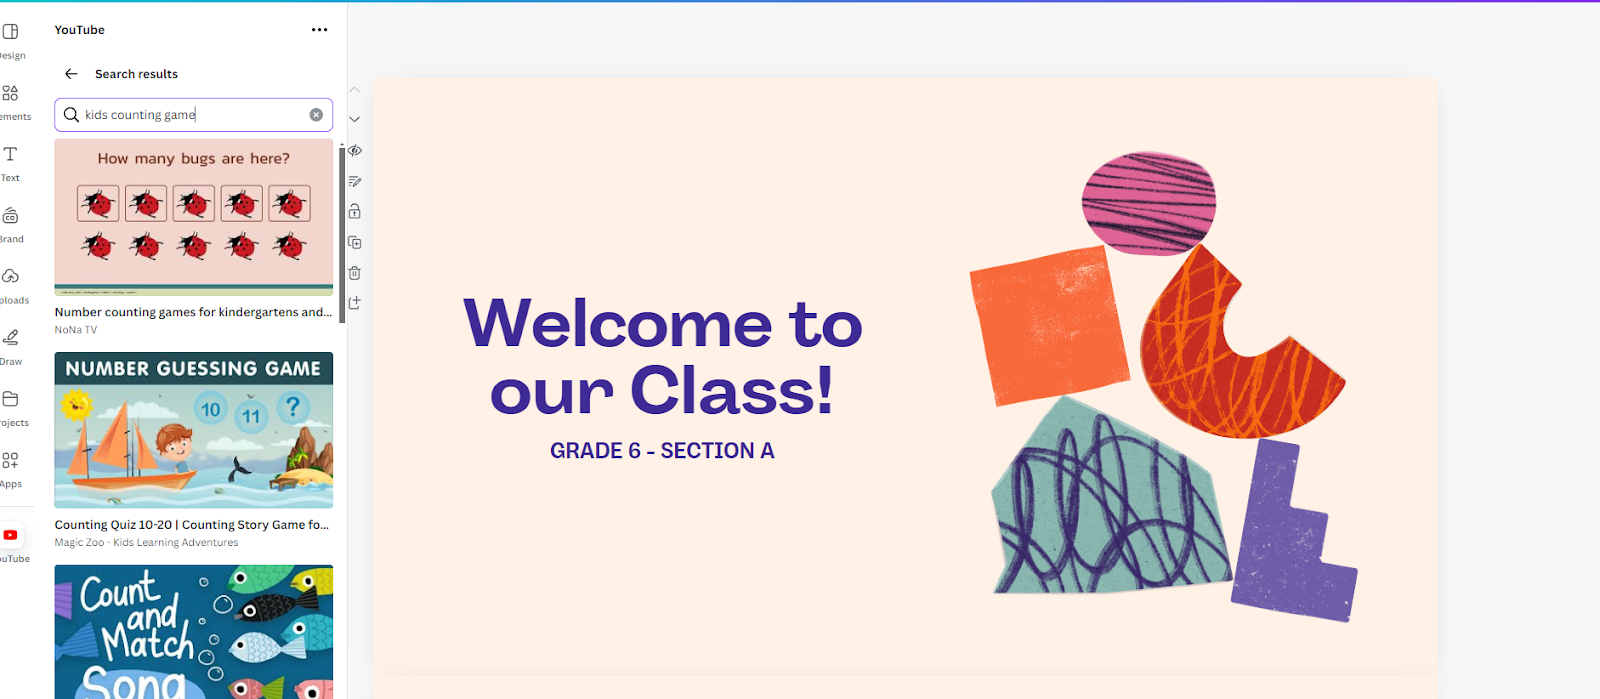
Once downloaded, the two platforms will essentially be connected. You can use the app in Canva to find, select, and directly add any video, so long as it’s on YouTube. Just search for the video as you would in the YouTube search bar, drag, and drop it in place.
This is common practice for a lot of brands. They create intro videos for YouTube and embed them on their website.
Using the brand kit
Using brand colors and logos is a pretty essential feature of any decent website. Unfortunately, the Brand Kit in Canva is locked behind a paywall.
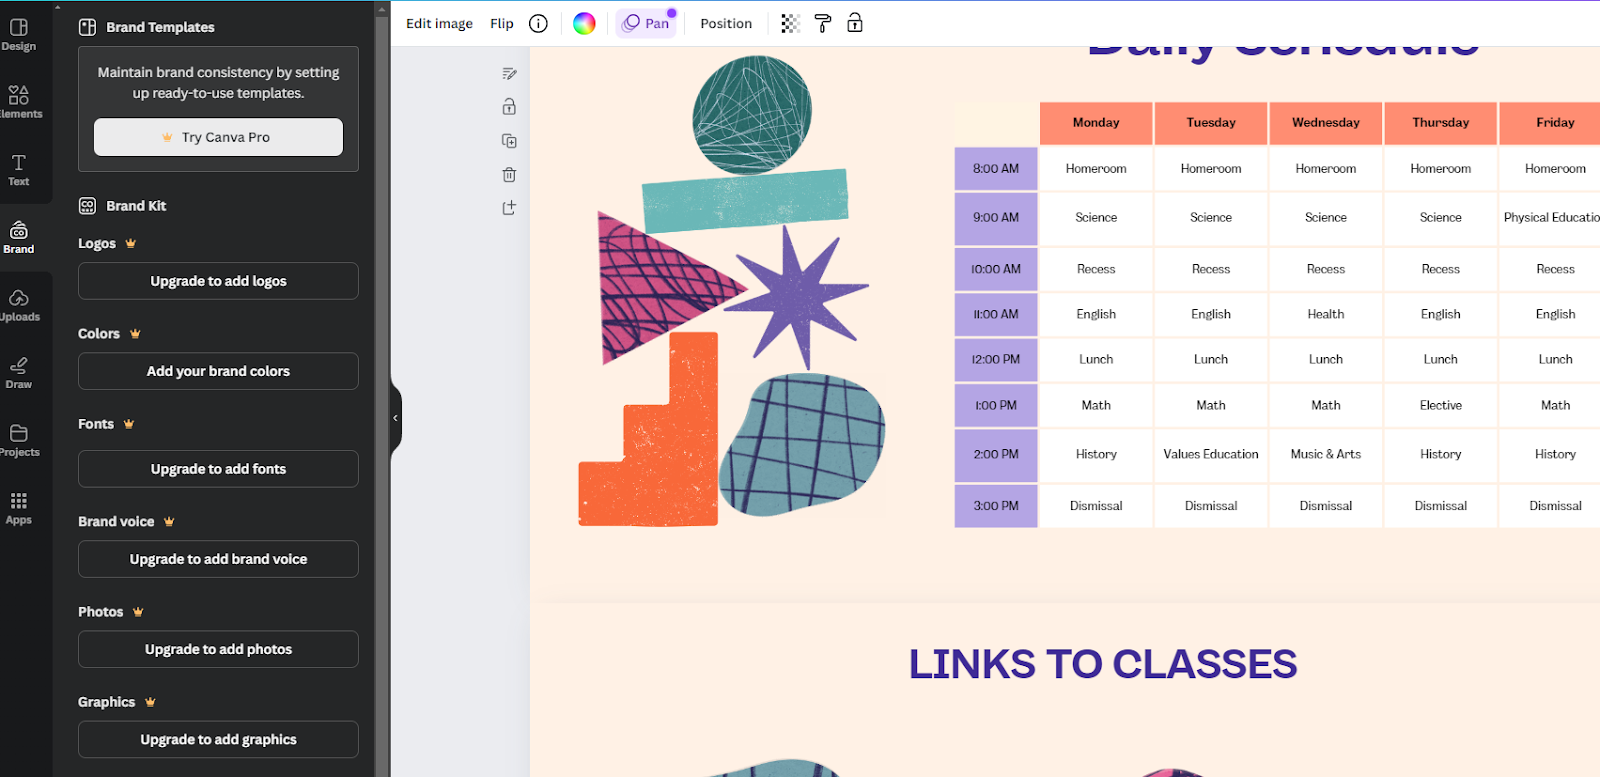
This isn’t to say that colors and logos can’t be added, but for free Canva accounts, they cannot be saved. This can cause some discrepancies across different projects if you’re not careful.
That said, if you do have Canva Pro, you can save and select logos, colors, fonts, brand voice, photos, graphics, and icons.
Adding animated elements
Something to keep in mind with adding buttons on a Canva website is that any mobile-first template won’t allow the buttons to be active. On a desktop, when a user hovers over a button, it can be made to light up or react in some way, this isn’t possible without a mouse.
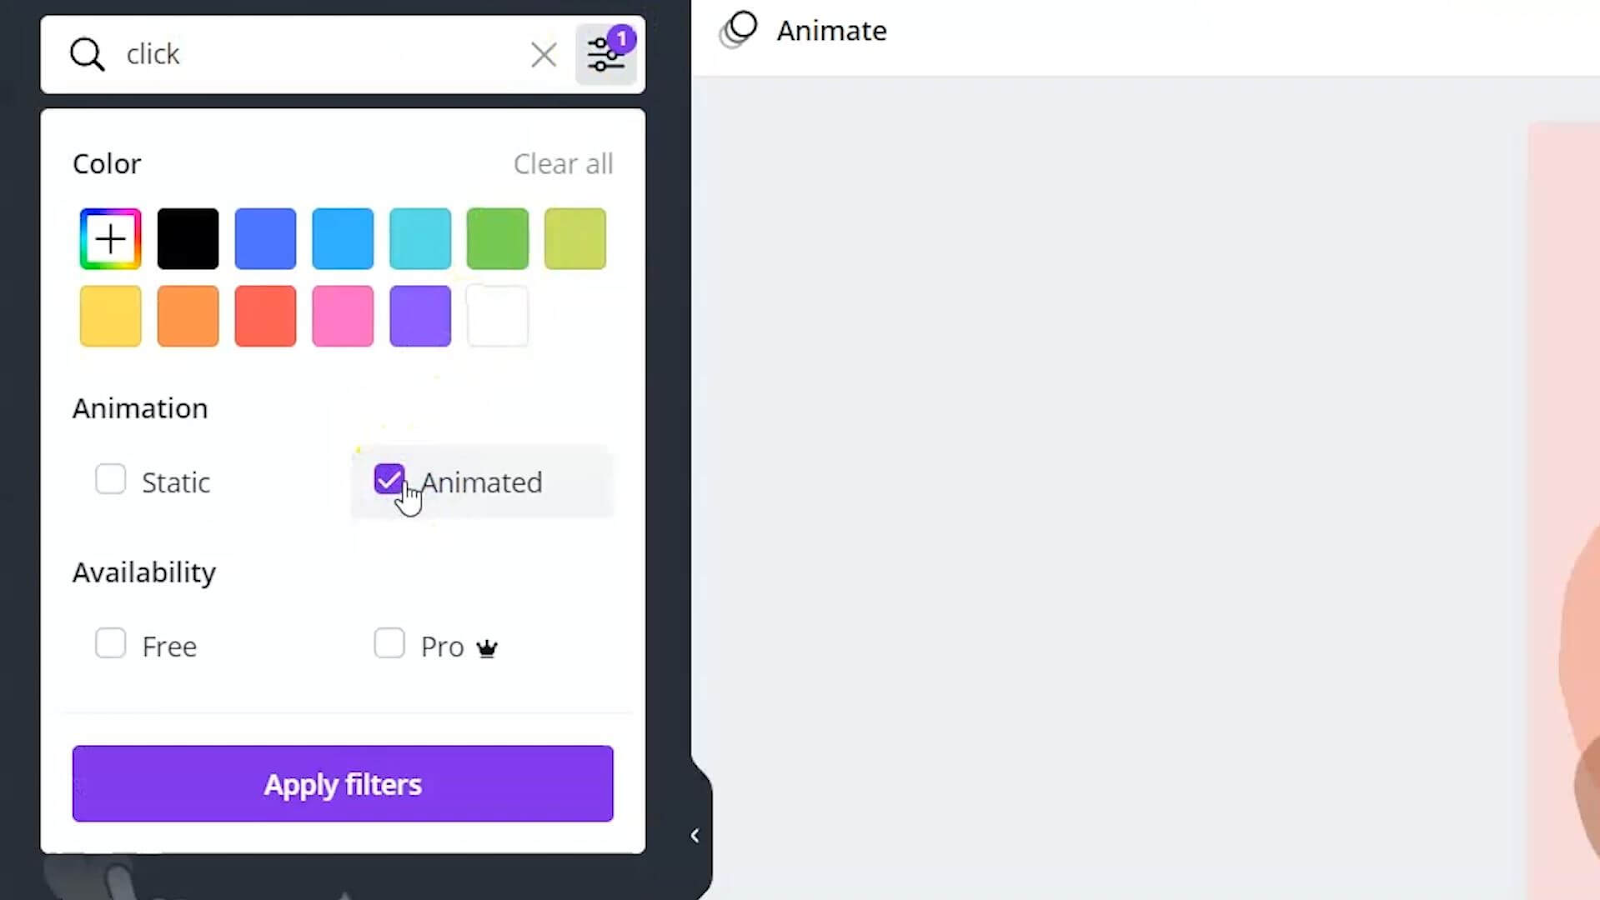
That said, you can still add an animated element to draw attention to the button. To do that, let’s go to stickers and select something that stands out. You can also search for a keyword and filter the search by ‘animated’ results.
Adding links to buttons and elements
A big part of any website is CTA buttons. These are typically buttons with links attached to them, so they direct users to another page, sign-up form, social media, and so on.
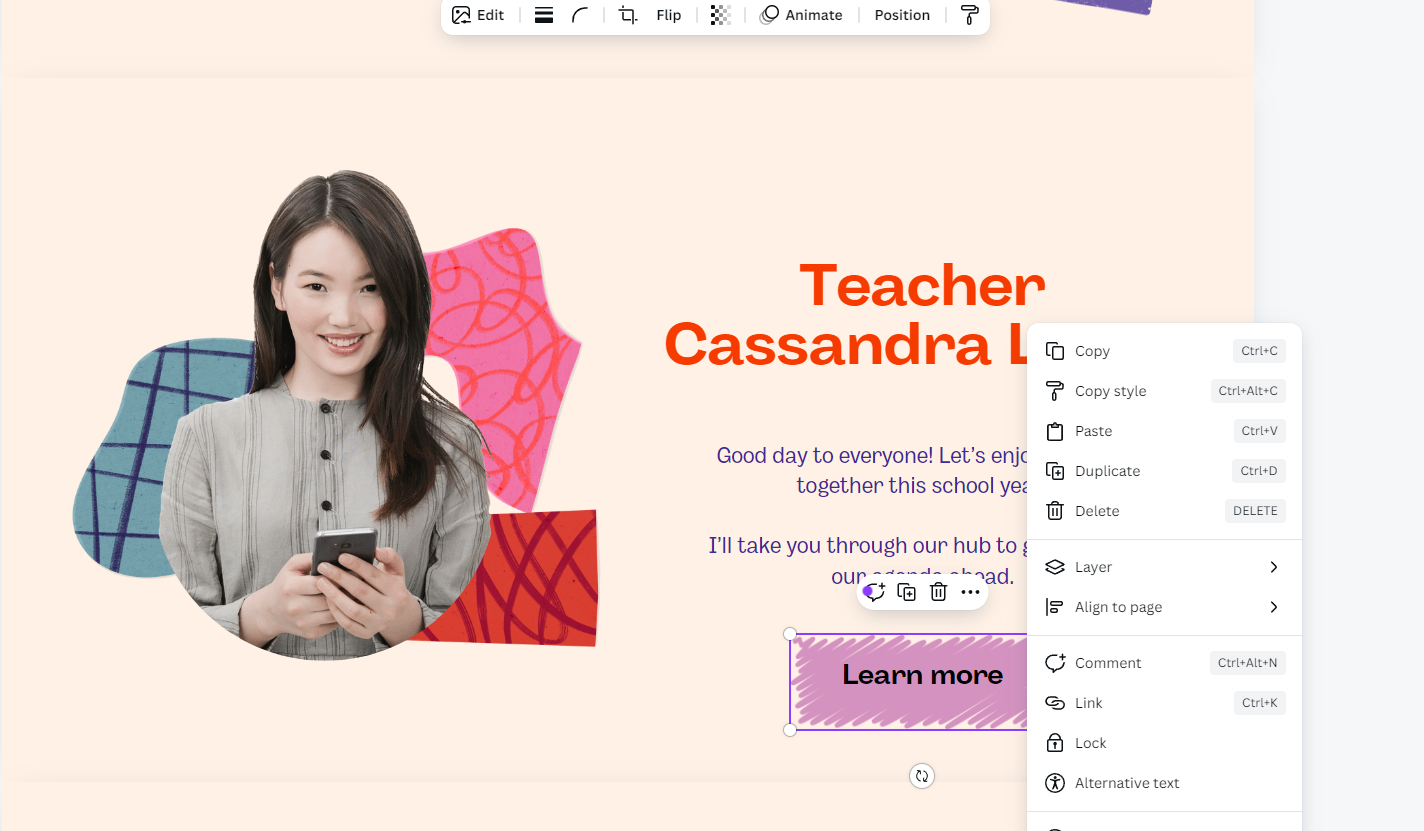
The best way to add links is to find the element you want to make a button, right-click, click on ‘Link’, and paste your deserted link. Alternatively, you can simply select the element and hit Ctrl + k to add a link.
Publishing Your Website on Canva
Before publishing your Canva website, make sure everything is exactly how you want it. Check elements, images, colors, and links. Once it’s all in order, it’s time to publish.
At the top right of your screen, you’ll see a nice, big button that says ‘Publish website’. Clicking on that button will give you a few options to choose from.

The big things here are the option to resize to mobile, which is highly recommended, and choosing your website’s URL. You definitely want to create a memorable URL, but you can also attach a custom domain that’s hosted somewhere else.
Clicking on ‘Publish settings’ will take you to another window where you can enter a description for your website, as well as change the description that will appear in the browser tab. Using the right keywords here will help users find your website more easily.

Finally, clicking on ‘Advanced settings’ will give you a few options for security, search visibility, and look preview.
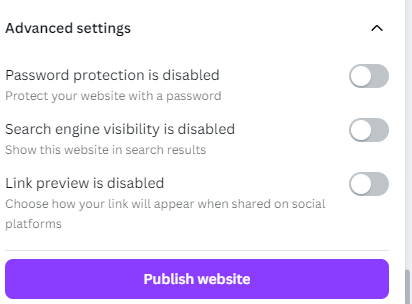
Once everything is set, click ‘Publish website’, and watch the magic unfold. You’ll be given your new URL, and a fully functioning Canva site, just as you designed it, congrats!

One thing to note about the published website is that it will have Canva in the URL as well as a small Canva logo in the bottom right corner.
Does Canva host websites?
You might be asking yourself ‘Does Canva host websites?’, and the answer is yes. Essentially, your newly created website is hosted through Canva’s website. This is apparent through the URL.
This way, you won’t have to pay for hosting services yourself through a website like GoDaddy, but it still has pros and cons.
Speaking of pros and cons, let’s talk about them all.
Pros and cons of designing a Canva website
Designing a website in Canva is a great option for a lot of people, but it’s definitely not without its flaws. There are a few pros and cons to keep in mind before jumping in. Let’s start with the pros:
It’s free to design and host
If you’ve ever tried to have a website professionally designed, you’d know that it’s not usually cheap (unless you use ManyPixels - more on that later). Oftentimes, a decent website can cost thousands of dollars to design, and there are also monthly maintenance fees.
It’s easy to edit
On top of the big upfront costs of normal websites, you’ll have to come back and pay the designers again, if you want to change anything. With Canva, you can jump right in, move some elements around, and carry on with your business.
For most people, time and money are big factors when deciding on a product. Canva certainly saves you a lot in both fields, but again, it’s not perfect. Here are the cons:
You need web design skills
Canva does a good job with nice templates, but unless you’re a user experience designer, your website probably won’t look as good as it would with a professional’s help. You need web design experience to make it flawless.
Very limited navigation
Any Canva website design is going to be what we call a one-page website. This is a single landing page with zero options to navigate to a blog, contact page, or anything else. You could work around this by designing multiple websites, and just interlinking them, but that would take a considerable amount of time.
Pro Tips for Making Your Canva Website Better
If you’re up for the extra challenge, beyond the free editor’s basic functionality, here are some pro tips to enhance your website even further.
1. Use the Brand Hub: While this feature requires a Pro subscription, it certainly makes branding a lot easier by unlocking a ton of extra benefits. It gives you the means to match your brand across all designs and remain consistent.
2. Add Calendly Links: If you’re a brand that requires a lot of meetings with clients, then utilizing Calendly’s free plan and integrating it into your Canva website via link is so simple and beneficial.
3. Use Canva AI for writing: Basically every SaaS uses AI in some way or form nowadays, and Canva is no different. If you’re not a copywriter, then having Canva AI write catchy headlines, descriptions, and copy for you can save you a lot of time.
4. Tracking Conversions: Canva’s insights feature can be used to monitor user engagement and track conversions. Analyze how visitors interact with your site, review traffic sources, and measure the effectiveness of your CTAs.
5. Customizing Favicon and Title: It might seem small, but you can boost your website’s appeal by customizing the favicon and page title in Canva.
6. Editing After Publishing: Don’t forget that if you discover a typo, or want to change something, you can do so, even with the website live. Go back, change things up, and test layouts to see what your audience likes the most.
7. Optimizing for SEO: Improve your website’s search engine ranking with Canva’s SEO features. Remember above when we discussed adding a description and browser tab preview? Those are great for SEO. Sprinkle in some keywords relevant to your industry, and greatly increase your chances of being found organically.
Conclusion
Designing a website in Canva can be a great idea for a lot of companies, especially if you’re just starting out or on a budget. But, it definitely leaves a lot to be desired.
As easy as it can be to use the Canva website builder, all the design tools still require some design skills. That’s why a lot of people choose a design service like ManyPixels to create visually appealing websites.
ManyPixels is a subscription-based design company that helps users just like yourself design websites, even through Canva. Starting at just $599 per month, you get access to unlimited designs. Instead of worrying about designing your own website and keeping it updated, you can trust the professionals to do it for you.
Zach is a content and SEO strategist with an affinity for cars, tech, and animals. He runs a SaaS content agency, and when he's not typing, he runs his small-scale farm at home.
A design solution you will love
Fast & Reliable
Fixed Monthly Rate
Flexible & Scalable
Pro Designers


.jpg)

.avif)
