A 10-step checklist for creating a graphic design workflow

TABLE OF CONTENTS

Depending on the artist, the graphic design process is unique as each artist working on them. But when it comes to creating multiple graphic design projects on top of each other, it is best to have an organized, step-by-step workflow to help streamline the design process without compromising visual quality and creativity.
Read on to learn more about the ultimate 10-step checklist for creating a graphic design workflow.
{{GRAPHIC_BANNER="/dev/components"}}
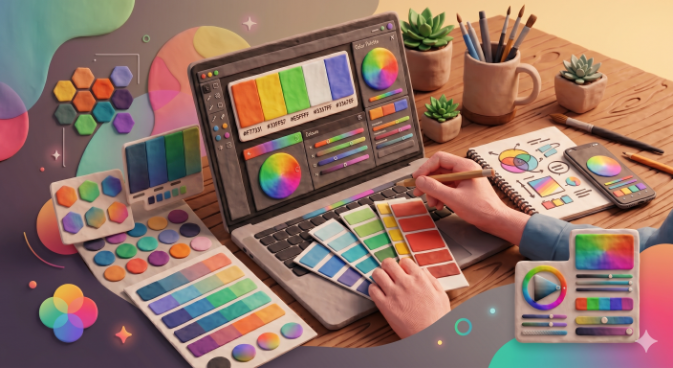
What is a graphic design workflow?

Creating a workflow is breaking down a project into a sequence of steps. It provides a structured way to tackle projects across many different sectors and is especially useful for graphic design. A graphic design workflow creates a step-by-step checklist to guide teams of designers through the creative process and overcome common challenges in graphic design.
Why create a graphic design workflow?
Now that you've got the answer to the question, "what is a graphic design workflow?" You'll want to know why it's right for your process.
Graphic design is an artistic profession. Artists, perhaps unfairly, have a reputation for being disorganized. When delivering projects to clients, an organizational tool is a necessity. Establishing a graphic design workflow gives designers a way to deliver work consistently and efficiently.
Creating the proper workflow is part of an agile project management methodology. Teams using this methodology are able to efficiently complete tasks and adapt to changing project parameters. There are agile benefits across industries, but we’re focusing on graphic design here.
Benefits from an agile graphic design workflow
Agile methodology has been used in various contexts to aid efficiency. Particularly on graphic design, there are a handful of benefits than can be garnered from applying the methodology to create an effective workflow:
- It organizes the creative process into a predictable sequence.
- You’ll be able to complete work more efficiently.
- A predictable process, once mastered, allows for better quality design.
- Client relationships will be improved by delivering a higher standard of work.
The 10 steps
The key to creating a great graphic design workflow is knowing the steps. Here is the ultimate 10-step checklist for consistently delivering quality design to your clients. Check out the steps laid out below.
1. Study the brief

- Client background information: This will tell you about the client, what they sell, who their core customer base is, and give a point of contact.
- Project aims: You will be provided with the targets of the project. This is where the client will set out their expectations. Critically, it will tell you their measures of success.
- Branding: The brief will give details on the look and style that the client expects. This will inform the tone that the work must deliver. Here you will find specifics about the desired color scheme, font use, etc.
- Delivery timescale: The due date for your work is essential information. This will guide you in decisions around resource management and budgeting.
A brief is like a map. It is there to guide you through every step. It may also bring up some questions to ask the client. Keep those queries in mind for later.
2. Research
The brief will provide you with the building blocks for the project. Now conduct research into the topic to better understand the target audience. Also, take a look at what competitors have done. You’ll gain insights into what does and doesn’t work. Here’s a rundown of things on which to focus your research:
- What is the product/service/campaign for which your work is intended?
- Who is your client, and what graphic design choices have they made in the past?
- How have competitors designed projects for similar work?
- What appeals to the target audience?
Researching these things will be invaluable, and it’ll equip you with the knowledge necessary to deliver for your client. You may also find more questions raised by the client. That brings us to the next step.
3. Meet with the client

After receiving the brief and conducting your research, now is the best time to meet with the client. This is an opportunity to ask the questions that came up in the earlier steps. It’s also the time to nail down the timeline and the project goals.
If this is the first time you’re working with this client, try to make it a face-to-face meeting. It may not always be possible to meet in person, so a video conference would suffice. You’ve got to take this chance to cement a strong working relationship. This will make it more likely you’ll generate further projects with this client.
You’ll likely have already generated some ideas. Share these with the client. Gauge their reaction, and you’ll better understand what they’re looking for. It’ll be easier to read their reaction in a face-to-face meeting, even if you’ve worked with them before.
4. Brainstorm ideas
Now is the time to get some ideas down on paper. Ensure you have shared the brief, research, and lessons from the client meeting with your team. If you're a freelancer, reach out to the design community. Create a space, physical or virtual, where your designers can share ideas freely.
You’ll want some structure for your brainstorming session. Allow each team member. This will inspire other team members and give them the chance to offer feedback. You can begin to whittle down the ideas to a final concept.
5. Create a mood board

You and your team should make a collage of ideas for the project. This is called a mood board, and it will help you and your team visualize something approaching a final product. This is an opportunity to try out some of the ideas pitched during the brainstorming session.
The advantages of the mood board are numerous. It allows you the flexibility to swap out various elements to see how they work together. A mood board provides a canvas on which your team can work collaboratively. It’s something you can present to the client to show progress and look for feedback.
A mood board can be physical or virtual; it can be available online for remote team members. As this is such a collaborative process, consider using a virtual phone system such as BlueJeans or a BlueJeans alternative, to keep all team members in the loop. This will allow your team to work together, even when they cannot be in the same space.
6. Make an outline
The previous steps should have helped your team focus on a final pitch to the client. It’s time to get it down on paper. Start by hand-drawing your ideas. With the aid of the mood board, this will help you try out more ideas.
Sketch several outlines and consult with each other as a team. Eliminate ideas that don’t fit the bill and narrow them down to those that are working. Eventually, you can create a computer mock-up using design software. This will give you something professional-looking to present to the client.
7. Present your outline for feedback
You’ve already worked hard on this project, and now it’s time to show the client what you’ve created. Prepare to receive some constructive criticism. The client already has certain things in mind and your designs may not meet their vision. This is all part of the process.
It’s a good idea to have several options from which the client can choose. This will help you get closer to the client’s initial vision. Hopefully, they will see something close to what they require and will need little modification. Otherwise, you may have to work on your designs some more or start from scratch.
If the client gives you unworkable feedback or disagrees with you, then tell them. Explain why you think a choice you’ve made is right for the project. But ultimately, it’s the client's decision, and you should accept that.
8. Act on feedback
Now is the time to revise your designs based on client feedback. Take what you've learned and, with your team, put it into action. Your job is to bring the client's vision to life. If the revisions you’ve made don’t work, the client will see that and ask you to rework it.
Your team members should be encouraged to offer feedback along the way too. They’re the most qualified to tell good design from bad. If you’re a solo artist, this is where you should reach out to other freelancers. It’s all part of the collaborative effort to deliver a great final product.
9. Deliver final product

- It hits the brief.
- The work is polished.
- It takes account of the client’s feedback.
Having fulfilled those criteria, you’re ready to send your work to the client in their chosen medium. Hopefully, you and your team can take pride in what you’ve produced. the most qualified.
10. Follow up
A few weeks after delivery, drop the client an email. Find out if the client is satisfied and if the project is performing as hoped. Spending a little bit of time doing this will strengthen your working relationship and generate future business.
Go with the flow
Why create a graphic design workflow? As you’ve read above, it brings efficiency and increased productivity to the creative process. You’ll be pleased with the results, as too will your clients.
Discover an array of captivating voices and expert insights as our guest writers grace the pages of the Manypixels blog. From seasoned industry veterans to emerging talents, their thought-provoking articles will inspire and inform, enriching your reading experience.

Top-quality designers
A complete creative team at your fingertips: graphic and web designers, illustrators, and more.

Lightning-fast turnaround
Get start today and receive your first update on the next business day.

All-inclusive pricing
Unlimited requests and revisions. One flat monthly fee. No surprises.

Flexible & scalable model
No contract. Scale up and down as needed. Pause or cancel at anytime.
Continue reading


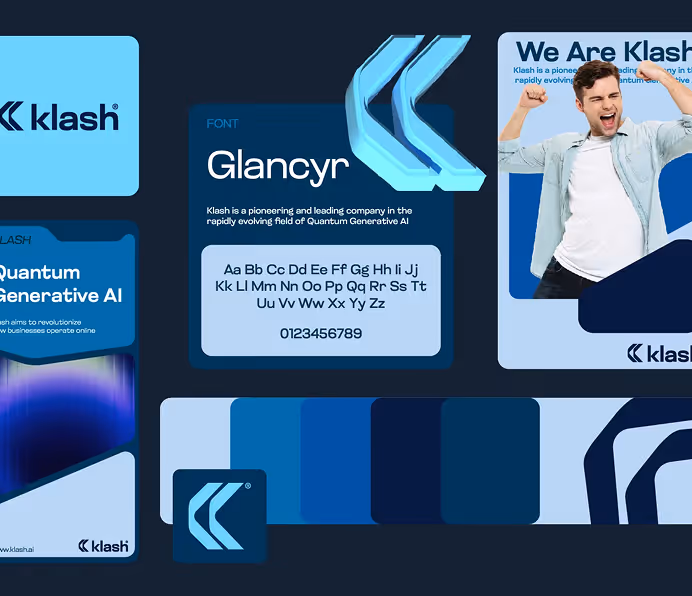
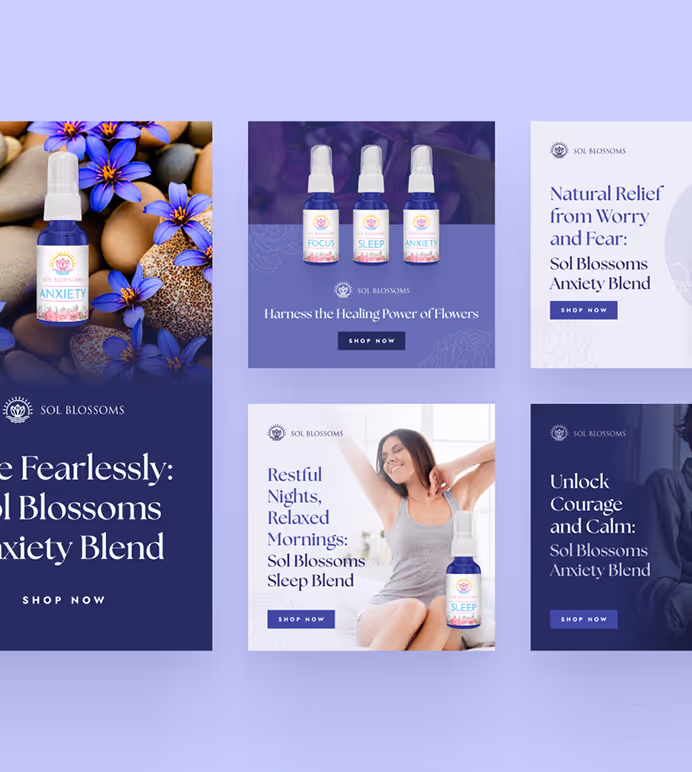
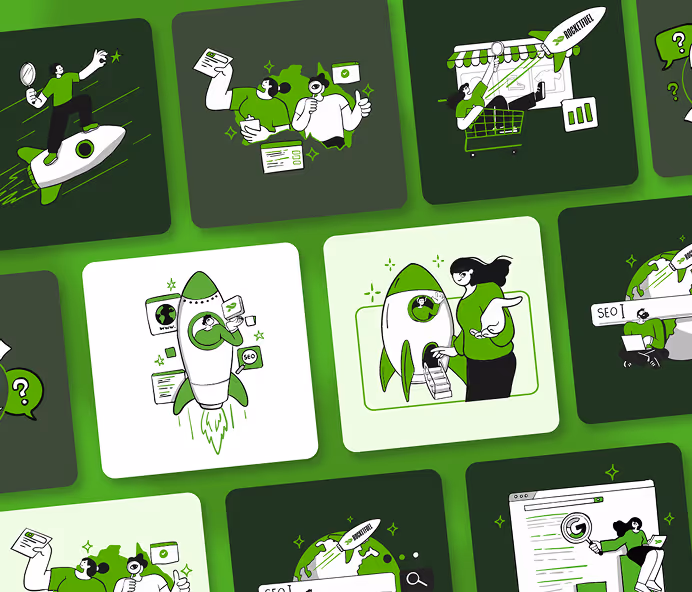
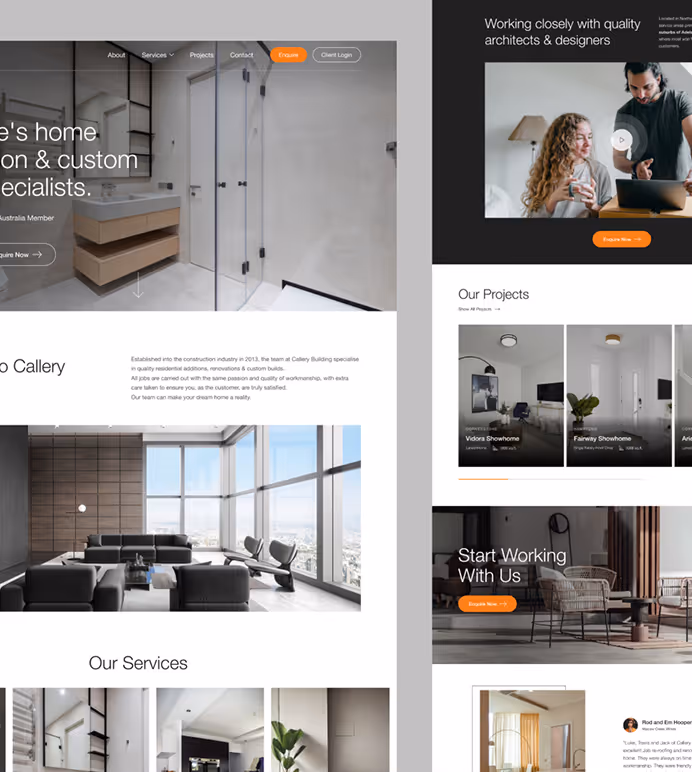
Explore some of our best designs
Get inspired by a curated selection of ManyPixels work. Download the portfolio to see what our team can create.